วิธีรีเซ็ต Google Authentication ใน Binance
หาก Google Authenticator ของคุณไม่สามารถใช้งานได้ตามปกติ คุณสามารถเปลี่ยนหรือปิดการใช้งานได้โดยทำตามขั้นตอนต่อไปนี้:
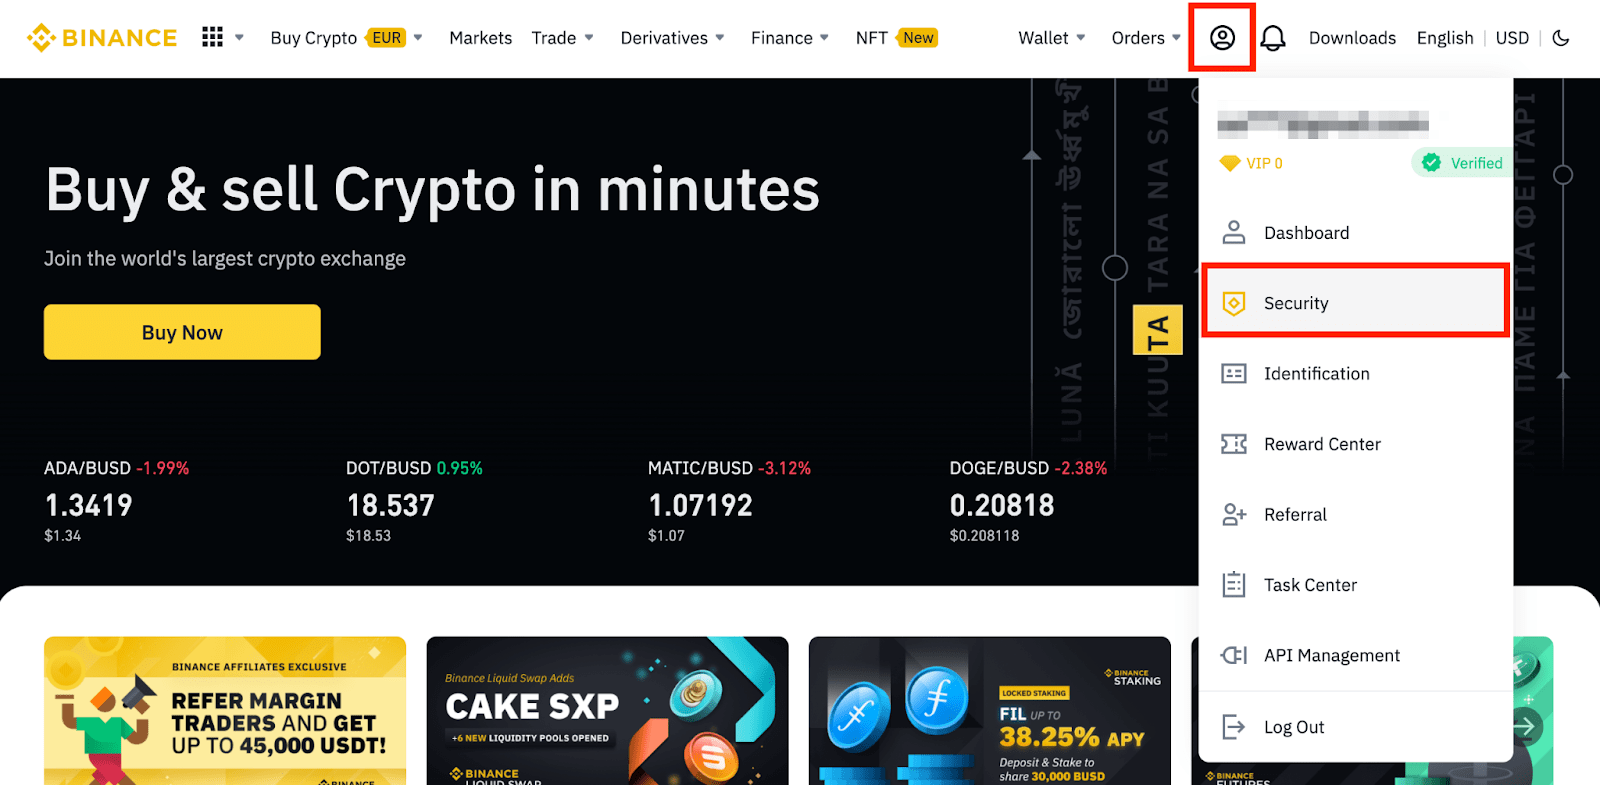
1. ลงชื่อเข้าใช้บัญชี Binance ของคุณ แล้วคลิก [โปรไฟล์ / Profile] - [ความปลอดภัย / Security]
2. ถัดจาก [Google Authentication] ให้คลิก [เปลี่ยน / Change] เพื่อเปลี่ยน Google Authenticator เดิมของคุณ หรือคลิก [ลบ / Remove] เพื่อยกเลิกการผูกกับ Authenticator ปัจจุบันและผูกกับ Authenticator ใหม่ในภายหลัง
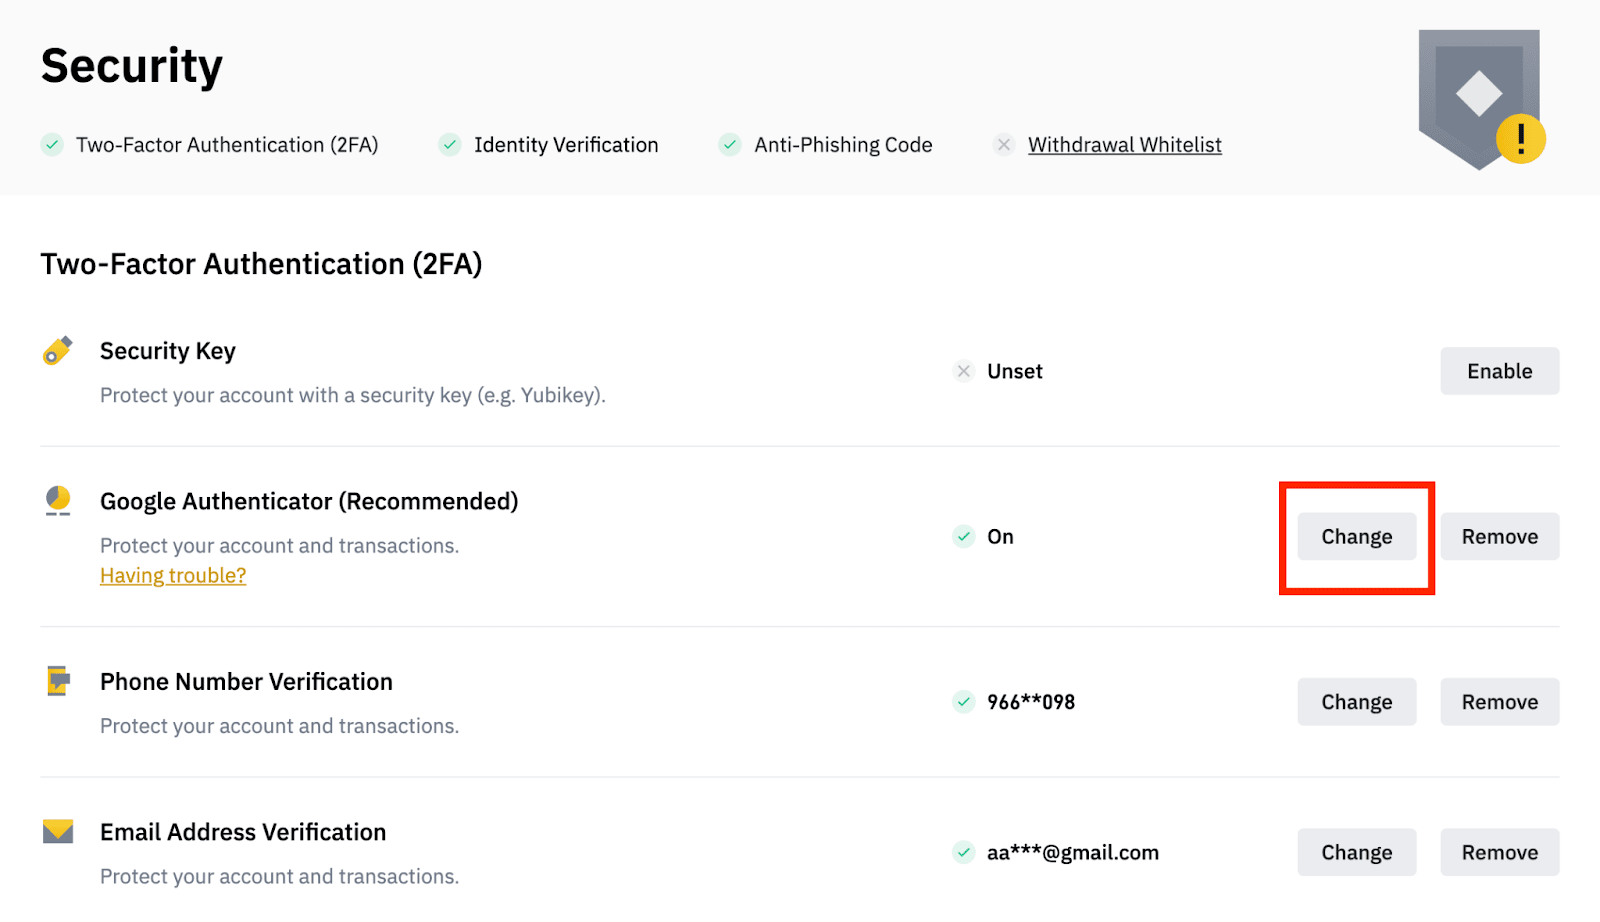
โปรดทราบว่าการถอนและการขายแบบ P2P จะถูกปิดใช้งานเป็นเวลา 24 ชั่วโมงหลังจากที่คุณทำการเปลี่ยนแปลงนี้
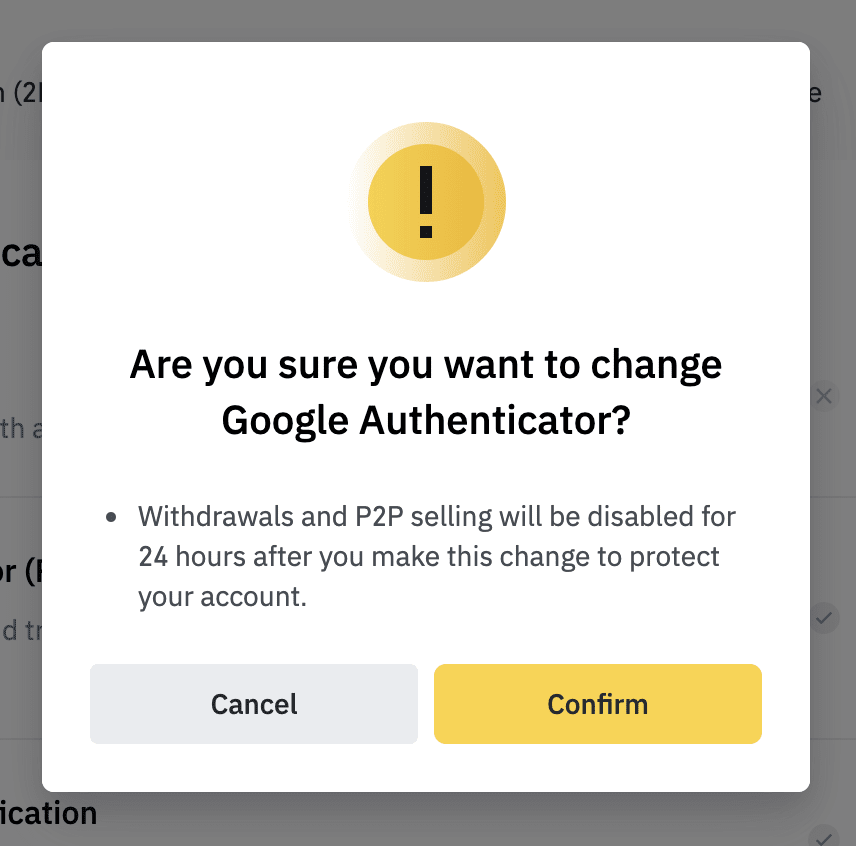
3.1. หากคุณคลิก [เปลี่ยน / Change]:
อ่านหมายเหตุอย่างละเอียดแล้วคลิก [ยืนยัน / Confirm]
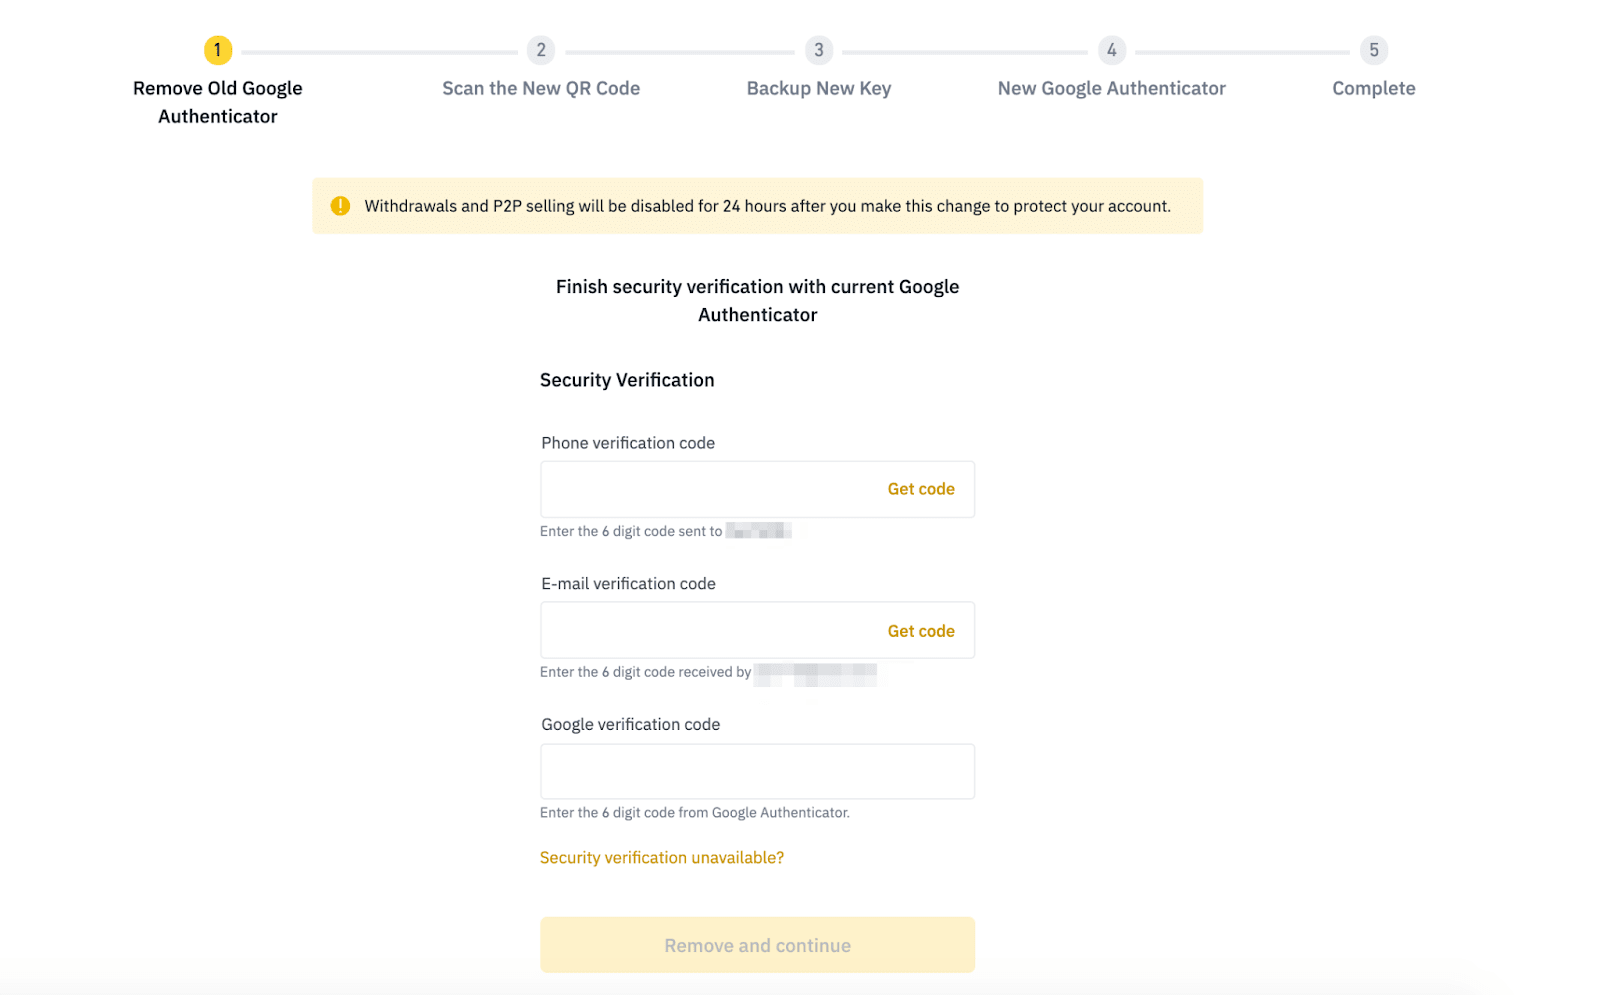
หากต้องการลบ Google Authenticator เดิม คุณต้องยืนยันคำขอนี้ในอุปกรณ์ 2FA ของคุณ จากนั้นคลิก [ลบและดำเนินการต่อ / Remove and continue]
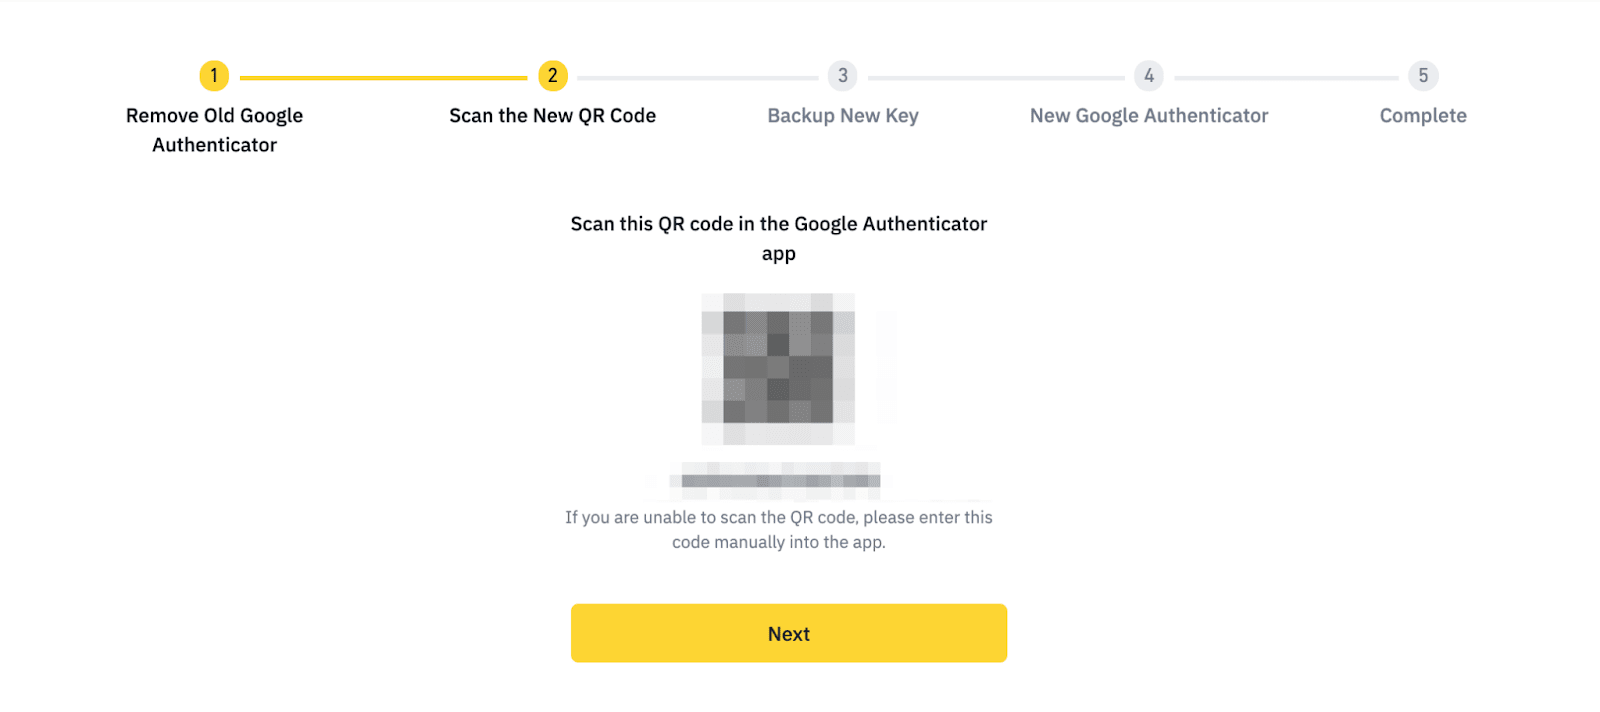
สแกน QR Code ด้วยแอป Google Authenticator หากคุณไม่สามารถสแกนได้ ให้ป้อนรหัสด้วยตนเองในแอปแล้วคลิก [ถัดไป / Next]
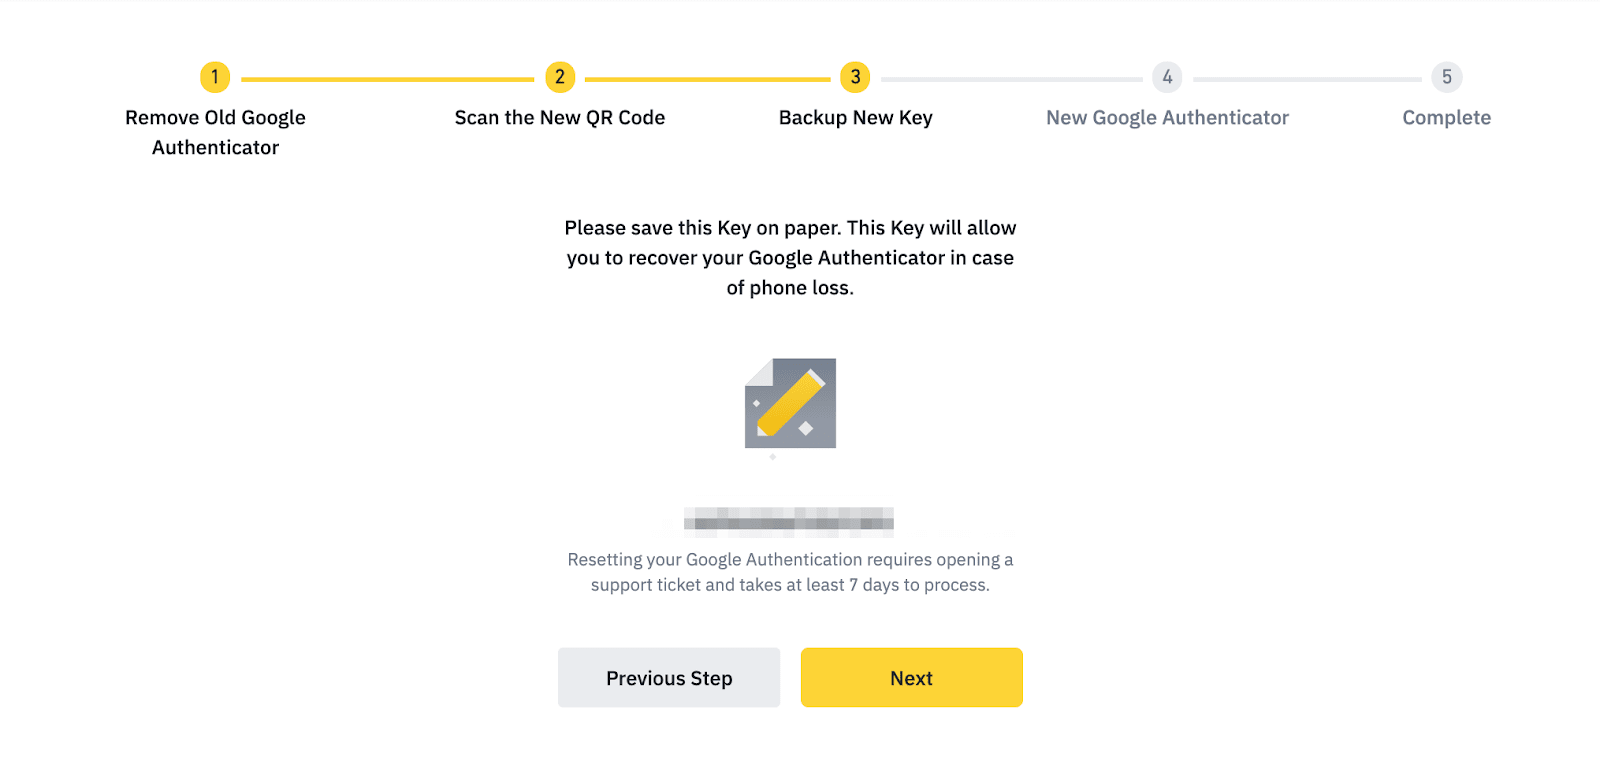
คุณจะเห็นรหัสสำรอง โปรดจดรหัสนี้ลงในกระดาษ รหัสนี้จะช่วยให้คุณสามารถกู้คืน Google Authenticator ของคุณได้ในกรณีที่คุณไม่สามารถเข้าถึงแอปได้ในอนาคต
คลิก [ถัดไป / Next] หากคุณยืนยันที่จะรีเซ็ต
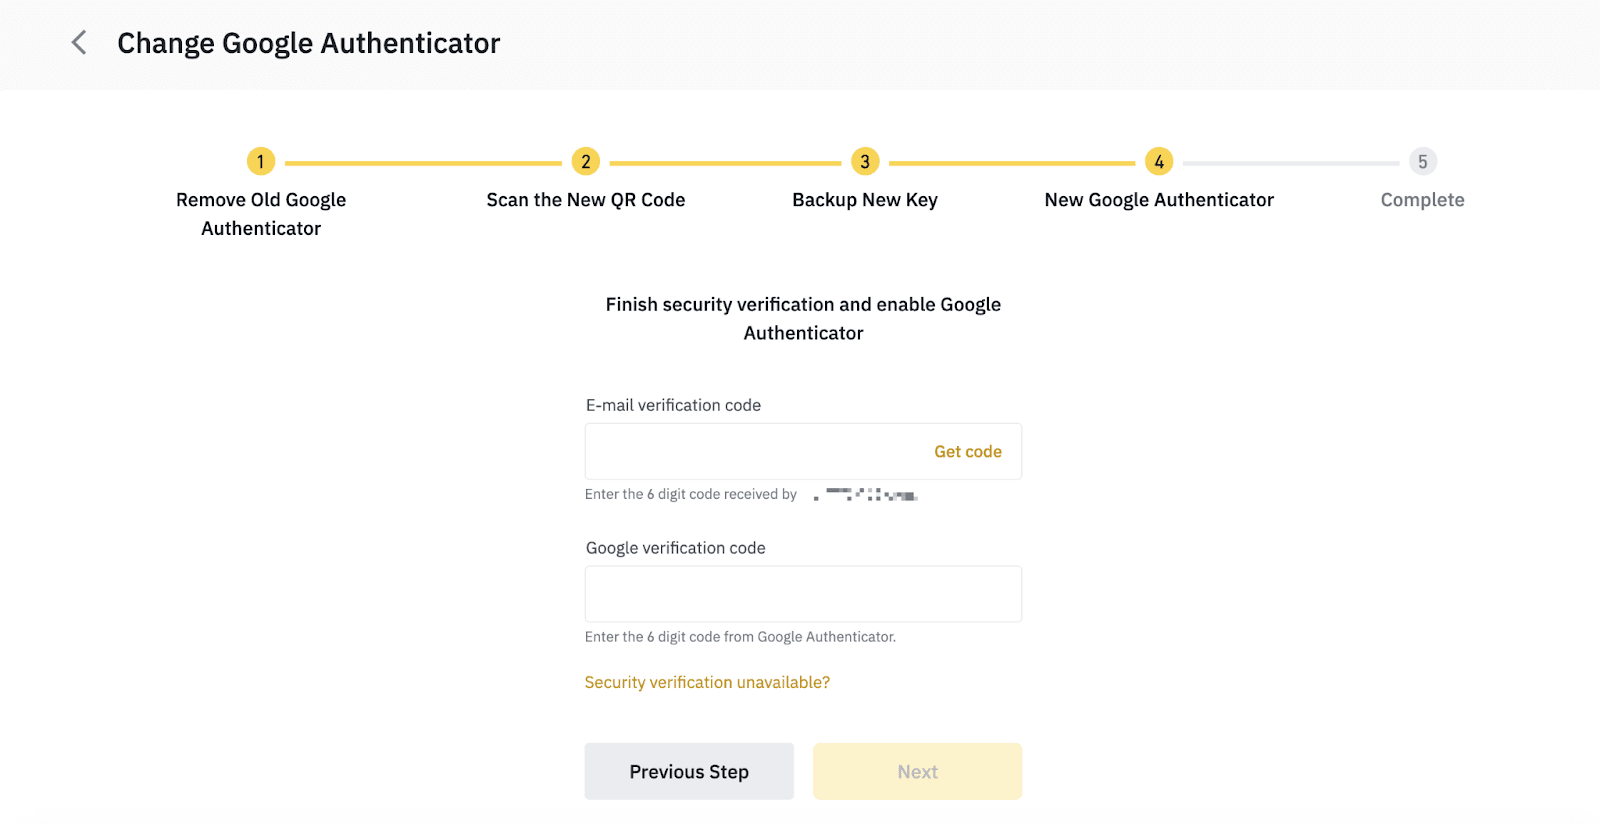
คุณสามารถยืนยันด้วยอีเมลของคุณและ Google Authenticator ใหม่เพื่อดำเนินการตั้งค่าให้เสร็จสิ้น
3.2 หากคุณคลิก [ลบ / Remove] :
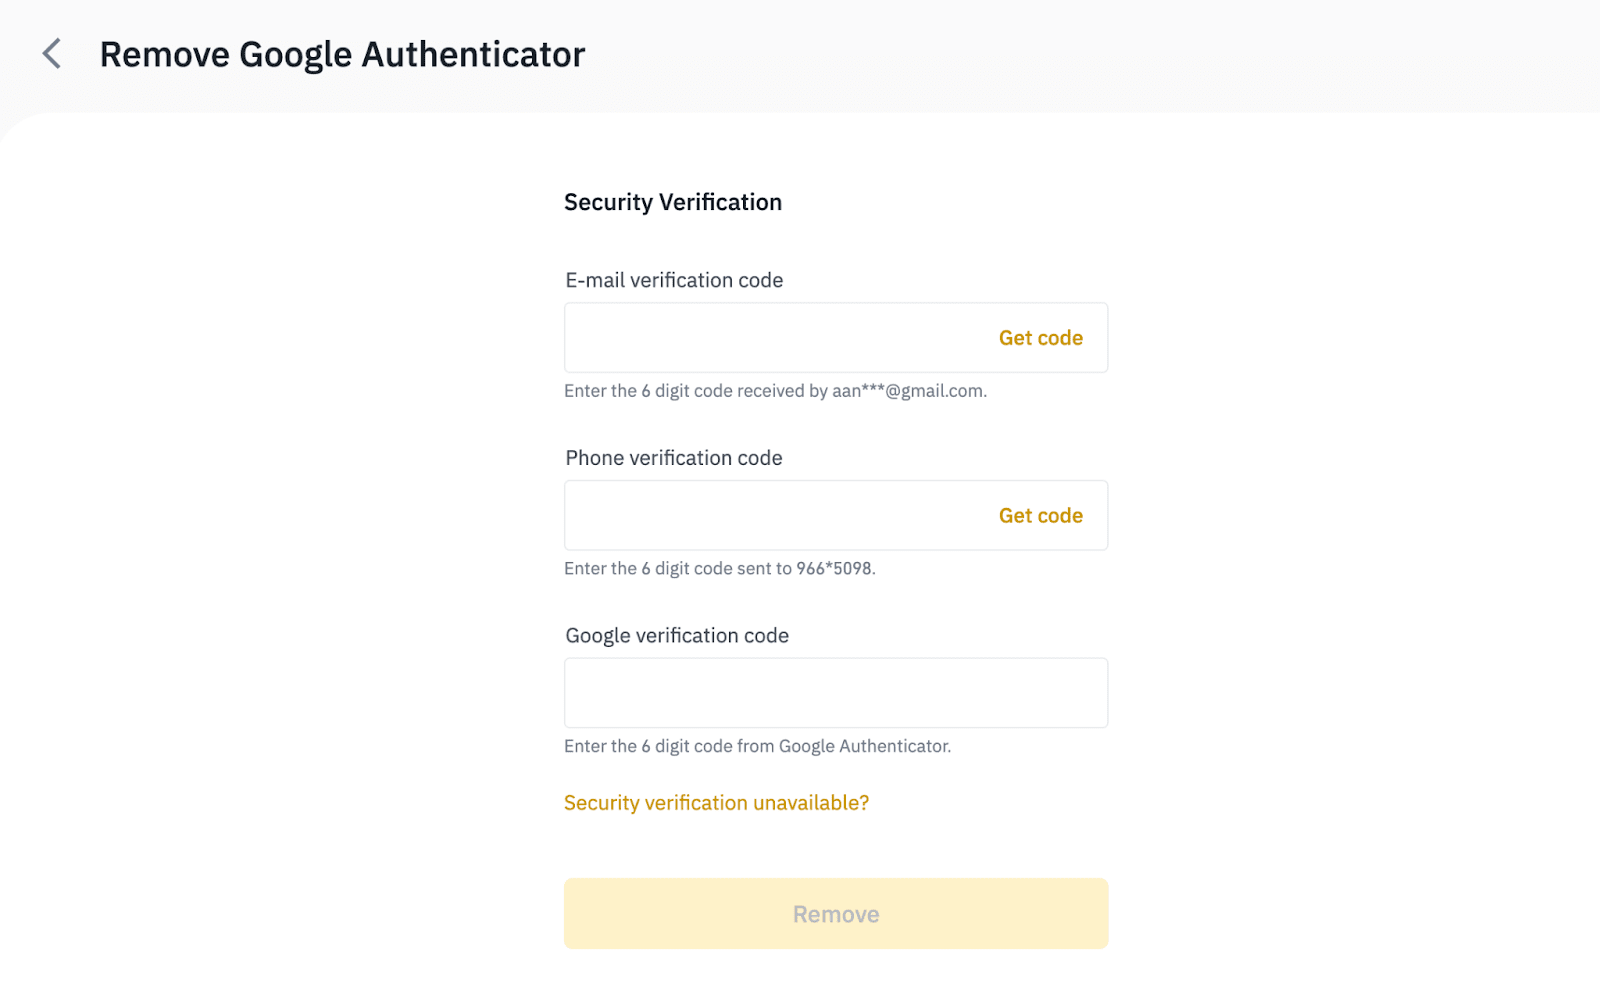
อ่านหมายเหตุอย่างละเอียดแล้วคลิก [ยืนยัน / Confirm]

ตรวจสอบคำขอของคุณในอุปกรณ์ 2FA แล้วคลิก [ลบ / Remove]
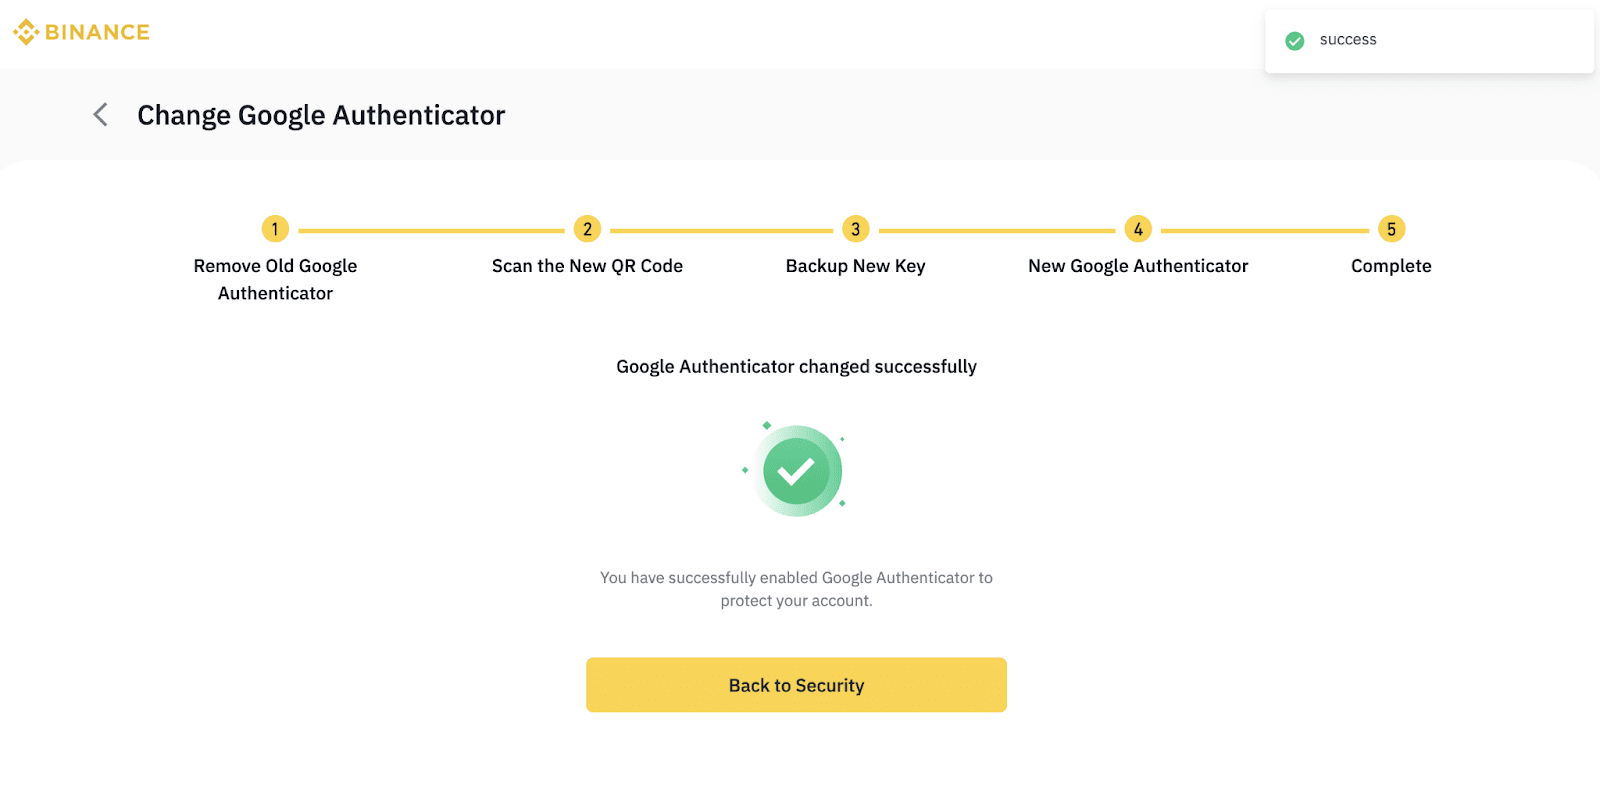
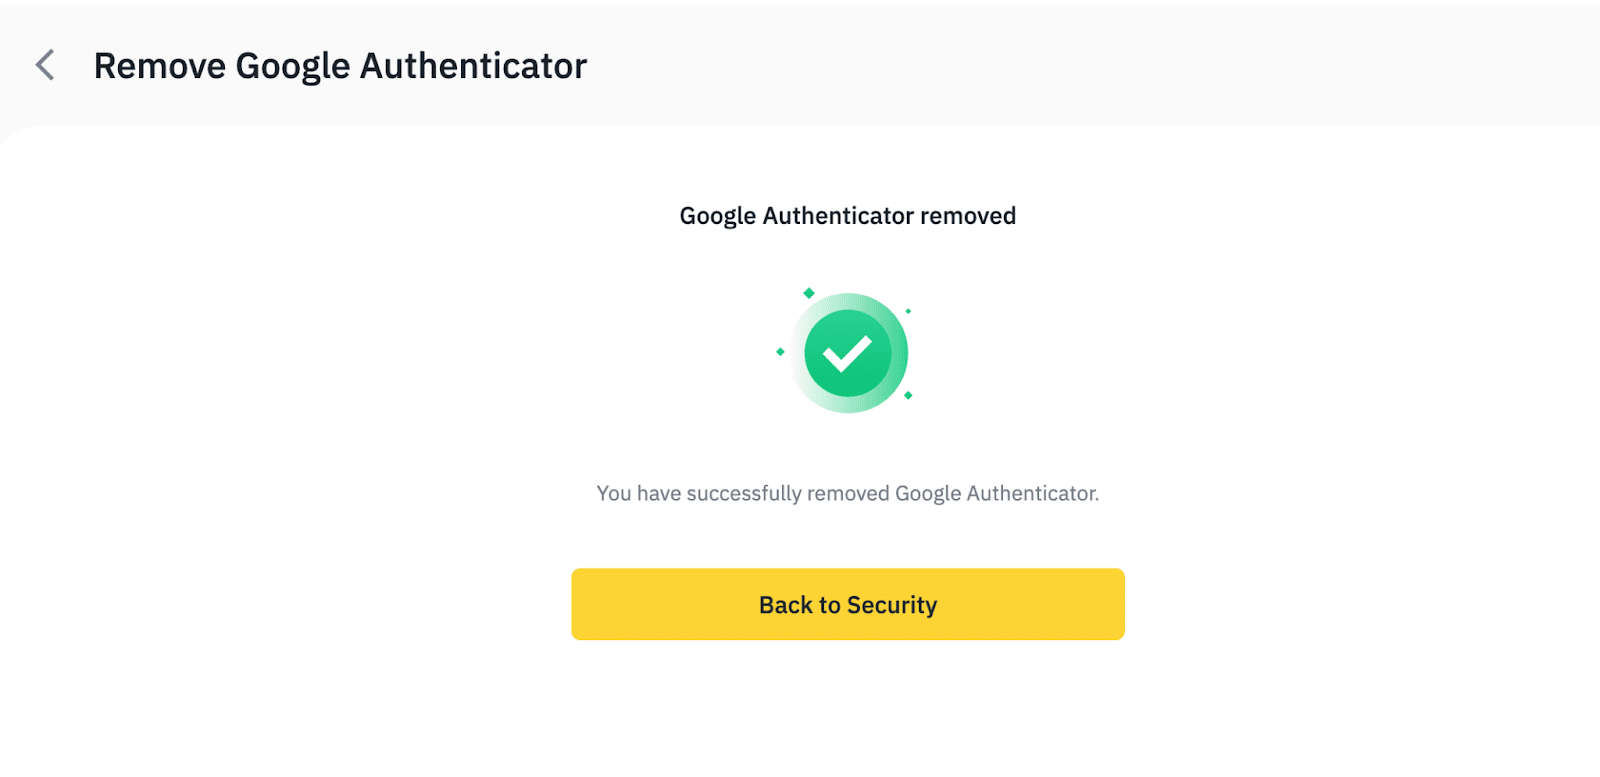
Google Authenticator ของคุณถูกลบเรียบร้อยแล้ว คลิก [กลับสู่ความปลอดภัย / Back to Security]
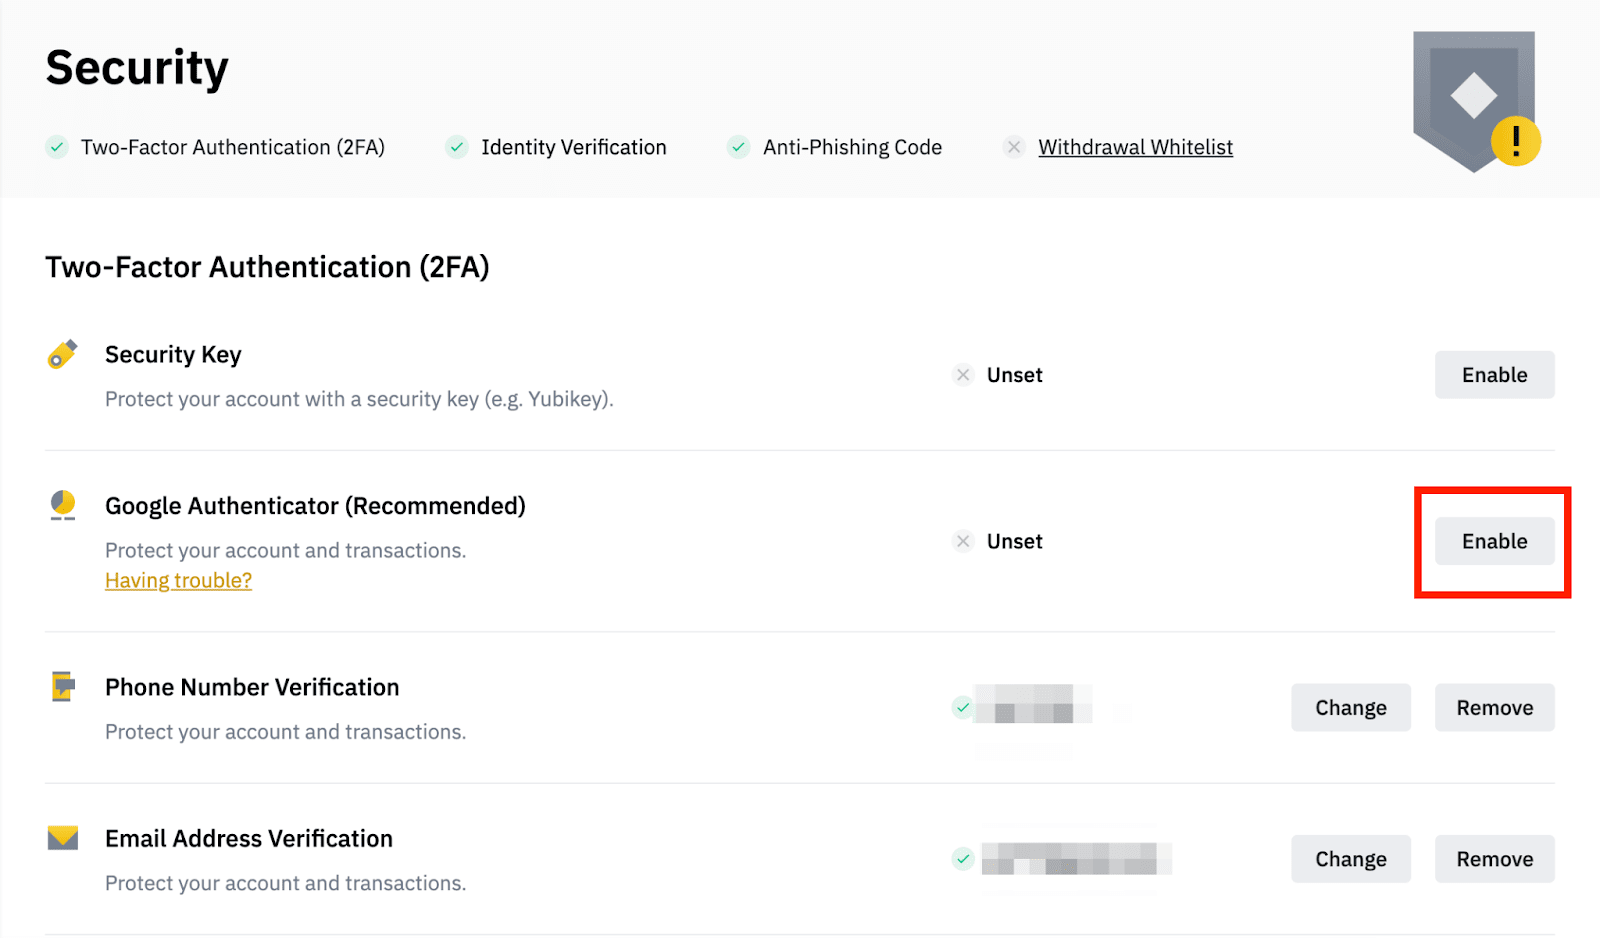
ตอนนี้คุณสามารถ ผูก Google Authenticator ใหม่กับบัญชีของคุณโดยคลิก [เปิดใช้งาน / Enable]
ไม่มีความคิดเห็น:
แสดงความคิดเห็น